- Sellacopter - List it. Sell it. Done.
- 1-855-SELLACOPTER

The importance of great photos when selling your helicopter.
Let photos tell your story
Let photos tell your story
In my last post, I talked about the value of collecting all the information necessary to sell your helicopter quickly. I discussed how important it is for you, the seller, to know everything you can about your helicopter prior to listing. This initial listing “discovery” is the foundation for the next steps in the process.
The cool technology available these days makes this next step much easier. If you have a smartphone, then today’s listing imagine tutorial, should be relatively simple, quick and easy!
By nature, humans are judgmental—our moms taught us not to “judge a book by its cover,” but we all know that we’re constantly judged on first impressions. When displaying photos of your helicopter listing, the concept is the same: the first impression is what will be judged the most; crappy photos can spell disaster! Imagine your listing photos showed someone about to interview for an executive position with a legitimate organization. Are they the dude in shorts and flip-flops with no resume, or are they the stylish and sophisticated pressed suit professional with a one-page resume printed on quality card stock? Essentially, don’t be the flip-flop guy with your helicopter listing photos.
Follow these steps to take perfect photos from any smartphone or digital camera.
- The majority, if not all of your photos should be shot in Landscape mode, which means holding your device horizontally.
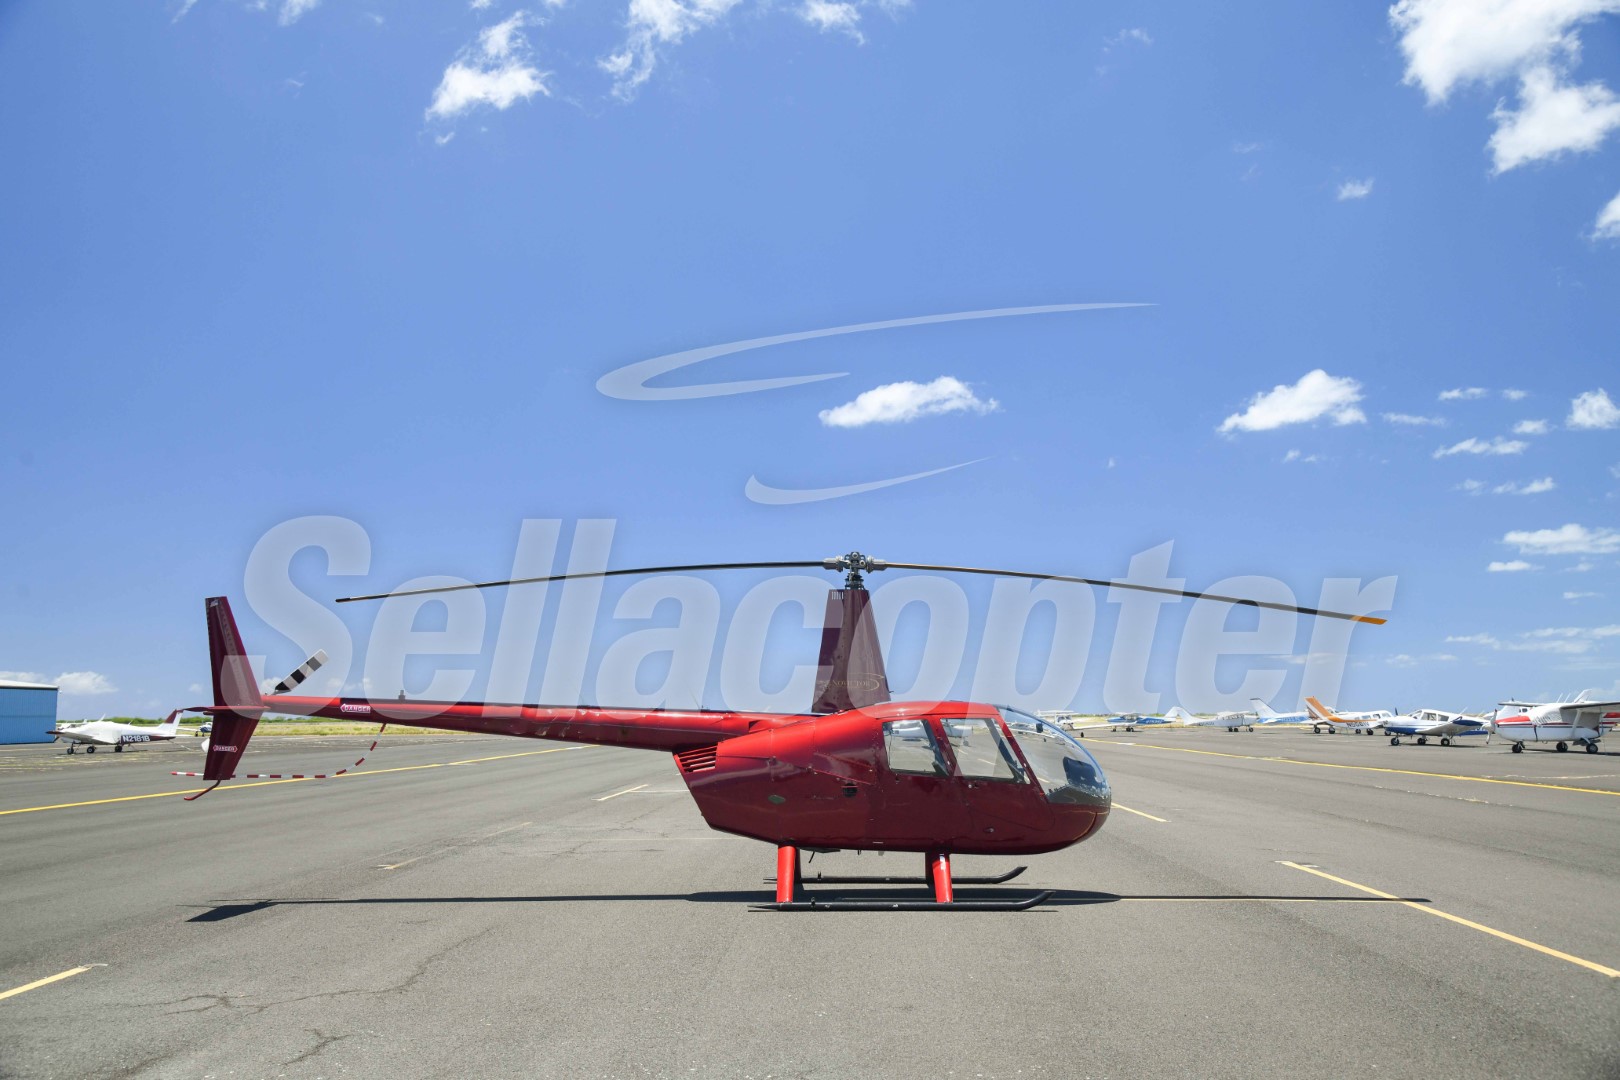
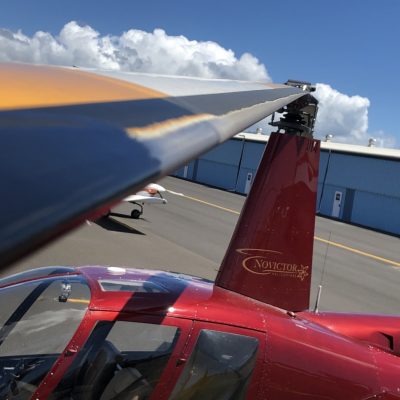
- Pick a background that is well lit, visually appealing, and not a junk yard! Stay away from cluttered backgrounds, dusk or dawn photos, and ensure you do not have any “mechanic models” in your shot. We suggest a large open field or a well-lit hangar without competing aircraft in the background.
- You cannot take enough photos. Buyers love photos, so start on the exterior and work your way to the interior. Think “Plus Sign, Clock, Cowlings, Rotos, Inside!”
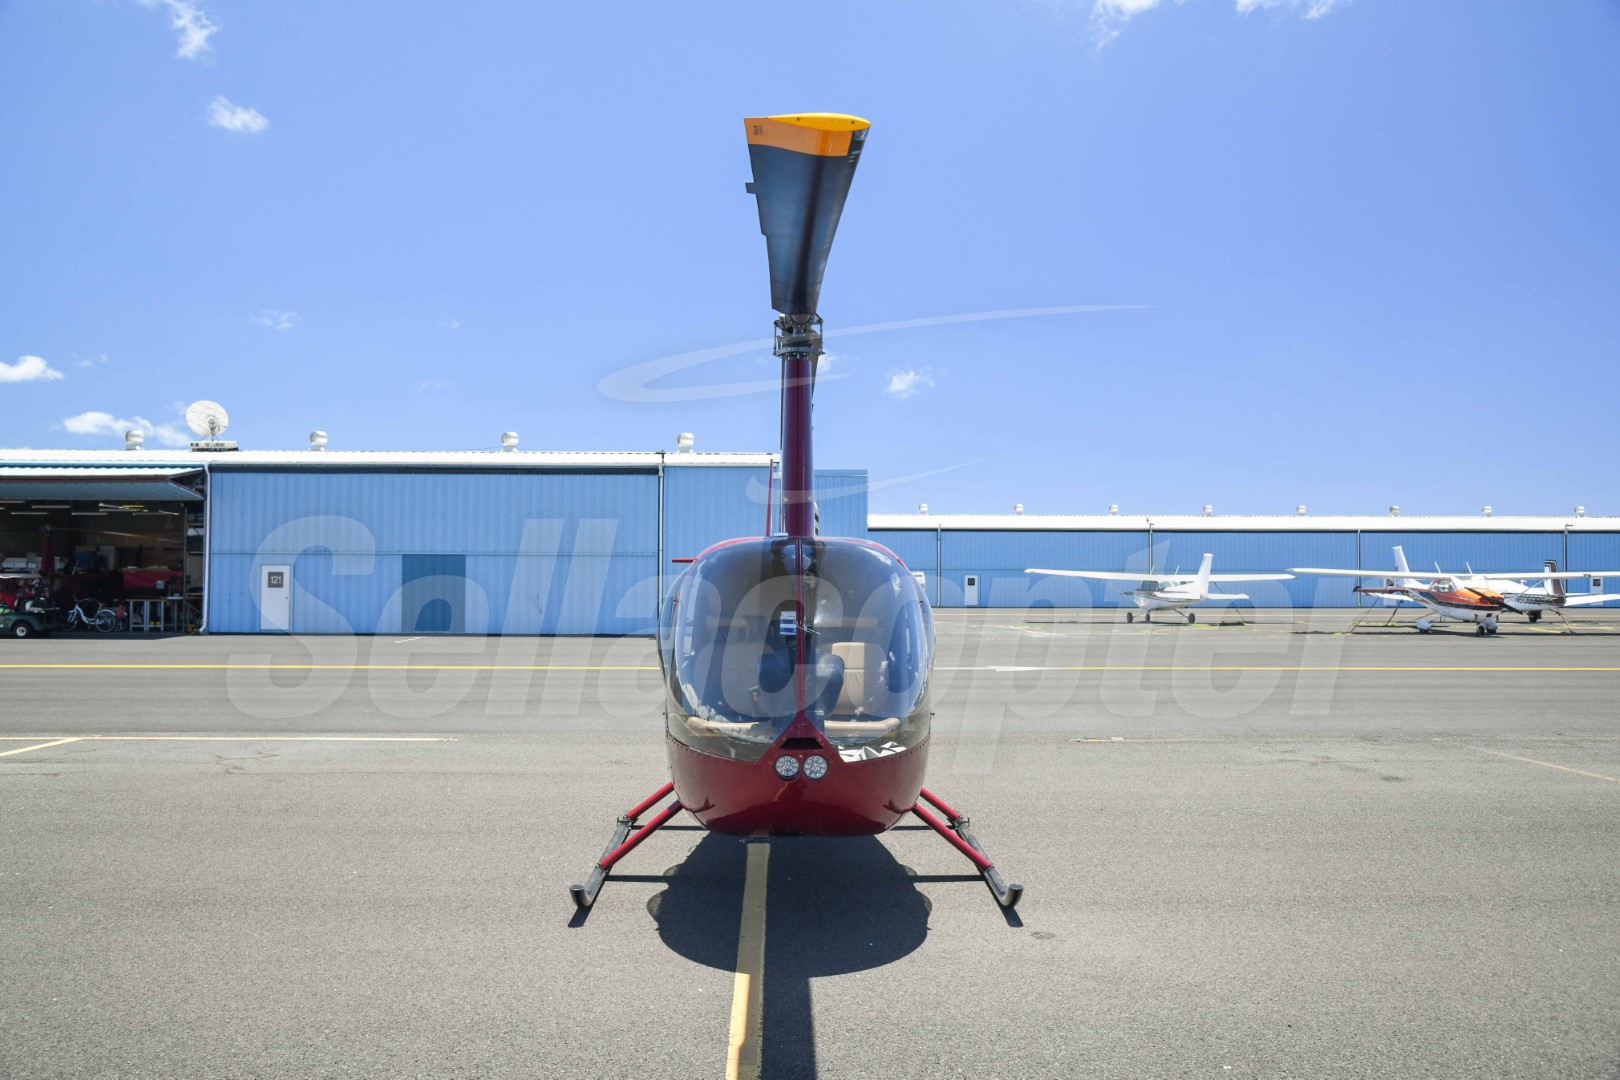
- Plus Sign (+) – Standing about twenty feet from the helicopter, snap four photos in the fashion of a “plus sign.” One at the nose, one of each side, and one from the tail.
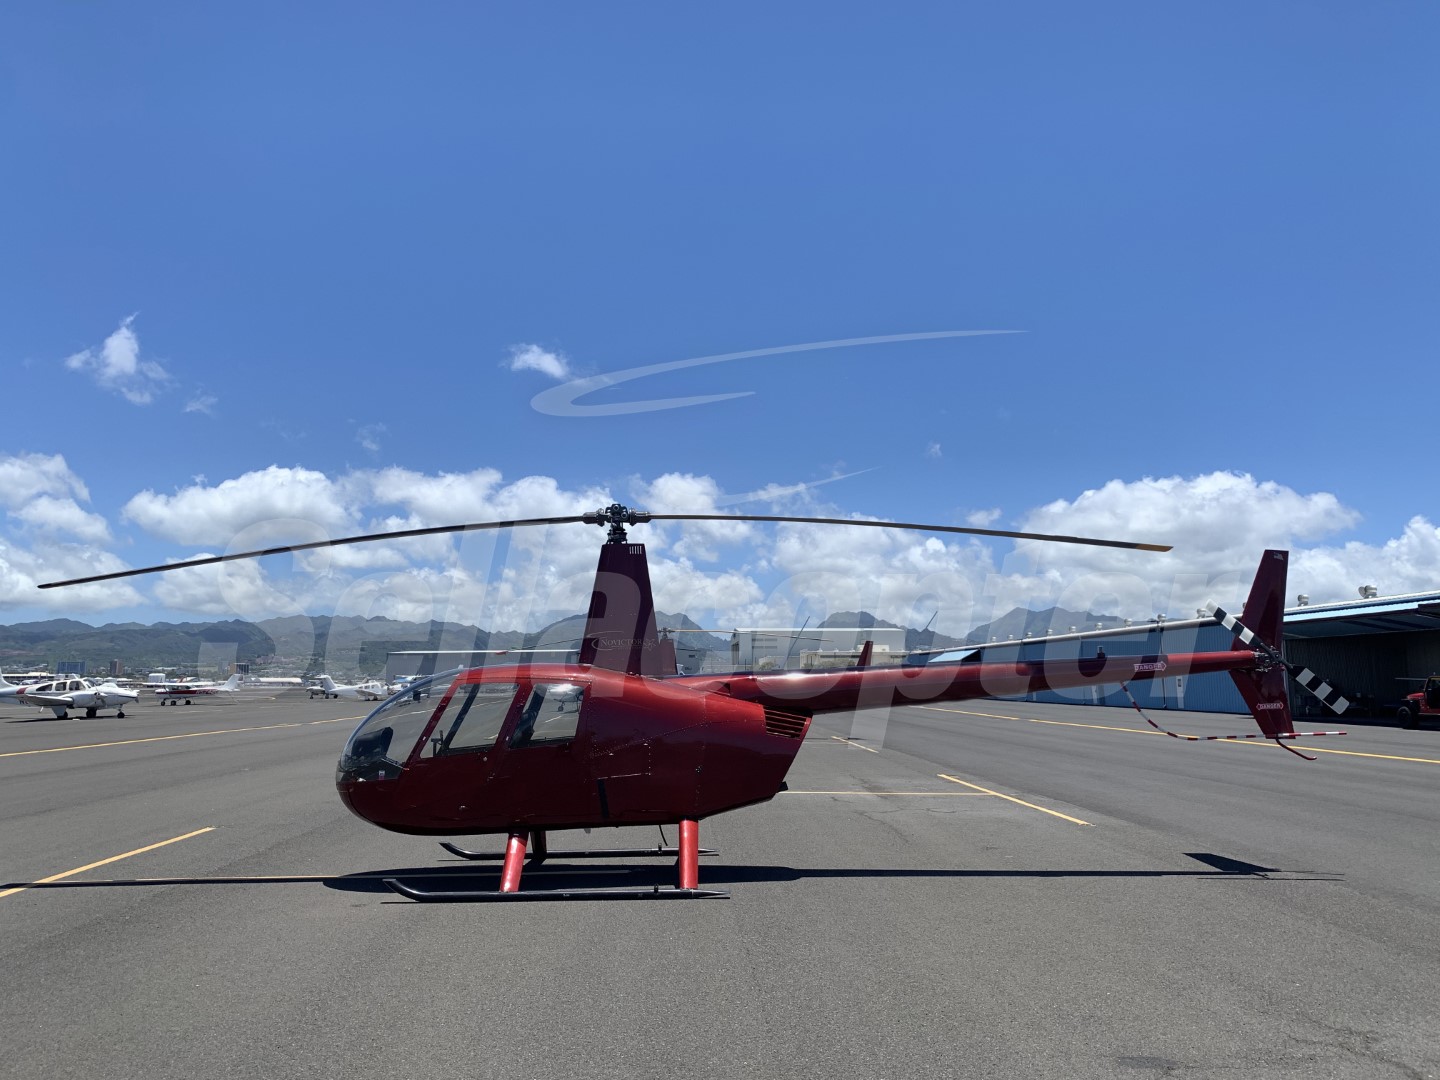
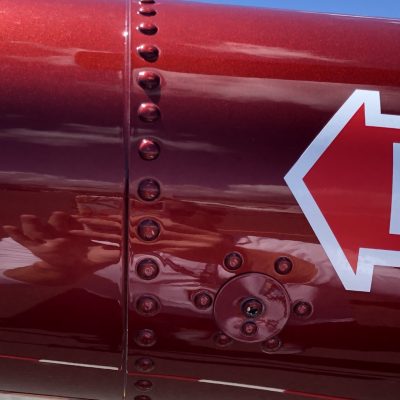
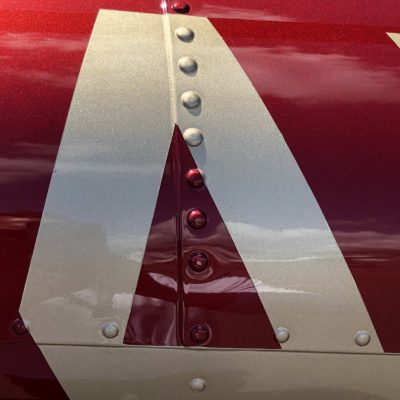
- Clock – After you snap your plus sign, standing about ten feet away this time, start at the nose and snap a photo every “two hours” as you rotate around the helicopter. Picture a clock, snap a photo at twelve, two, four, six, eight and ten. These shots are a little bit closer and will give you some great angle shots as well.
- Cowlings – Don’t be shy; there’s nothing to hide! Open all the cowlings, get shots of the engine, transmission. If it’s covered by a cowling, open the cowling and snap a photo! Optional is taking a photo underneath the helicopter as well.
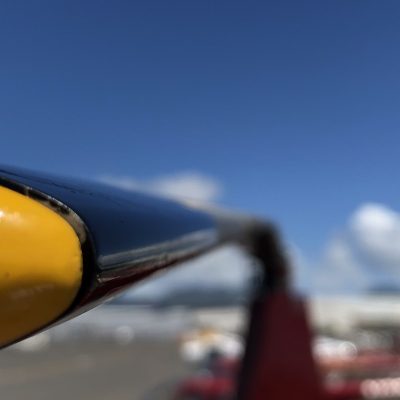
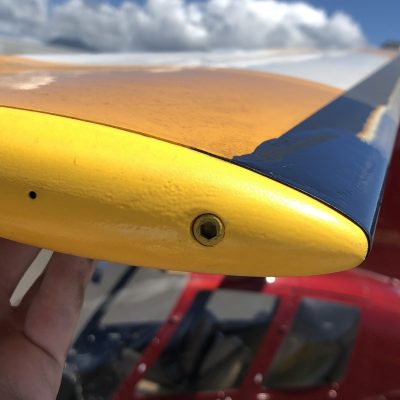
- Rotos – Turns out helicopters aren’t anything without rotors. Buyers like getting close-up shots of the main rotor and tail rotor. Get the leading edge, trailing edge, and below and above each blade. Don’t be lazy—grab a ladder and get those close-up shots of the mains.
- Interior – Make sure your helicopter interior is not cluttered, and snap photos of all the seats, zoomed out main console, zoomed in avionics, bulkheads (aft and upper), up close to the seats and upholstery.
Pictures can make or break your listing. DO NOT skimp on taking high-quality photos! They could mean the difference between selling your helicopter or not selling it. Remember, poor-quality photos can greatly increase the time it takes to sell your helicopter. Shoot as if your listing depends on it, which it does. Good luck and have fun unleashing your inner photographer.
